Step-by-Step Guide to Wrapping Trees With Outdoor Lights
Home Design MarkAnthony Ball December 22, 2023
Home Design MarkAnthony Ball December 22, 2023
Suitable for a variety of tree types, including evergreens, deciduous trees, palm trees, and even yucca, lighting can be effectively applied. Bare leafless trees, particularly those with horizontal-spreading branches, offer an ideal structure for hanging lights. Enhancing their vertical, upright forms, palm tree trunks wrapped with white or red lights create an eye-catching display that draws attention upward toward the night sky.
When it comes to outdoor lighting, LED lights are highly recommended. Not only are LEDs 75 percent more energy-efficient than standard incandescent bulbs, but they also have a significantly longer lifespan. While the initial cost of LED lights may be higher than incandescent bulbs, their energy efficiency ensures that they pay for themselves long before reaching the end of their operational life.
Opting for warm white LEDs provides a pleasant, warm glow similar to the beloved incandescents. On the other hand, cool white LEDs emit a bluish glow, and colored lights come in either multicolored or single-color options. White lights are versatile and suitable for any time of the year, while colored lights are often preferred for holiday seasons. For a cohesive look, it is recommended to choose lights of the same color, whether warm or cool whites.
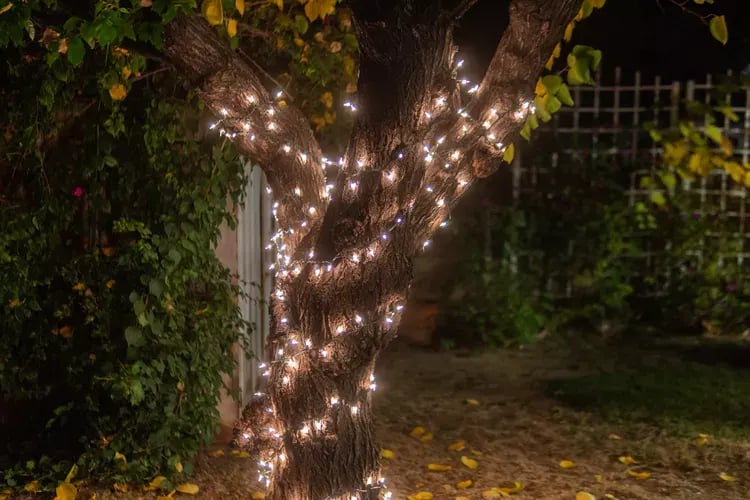
Choose the tree or trees you wish to illuminate, beginning with one that serves as a natural focal point in your landscape. Ideally, this tree should possess an interesting form and elegant branches, creating a visually striking effect when illuminated. The irregular shapes of branches and limbs take on a magical quality in the evening when adorned with twinkling lights.
While a very large tree can undoubtedly have a significant "wow" factor, the larger and taller it is, the greater the number of lights it will require. It's essential to avoid sparsely lighting a large tree, so select a size that aligns with the quantity of lights you have or are prepared to purchase.
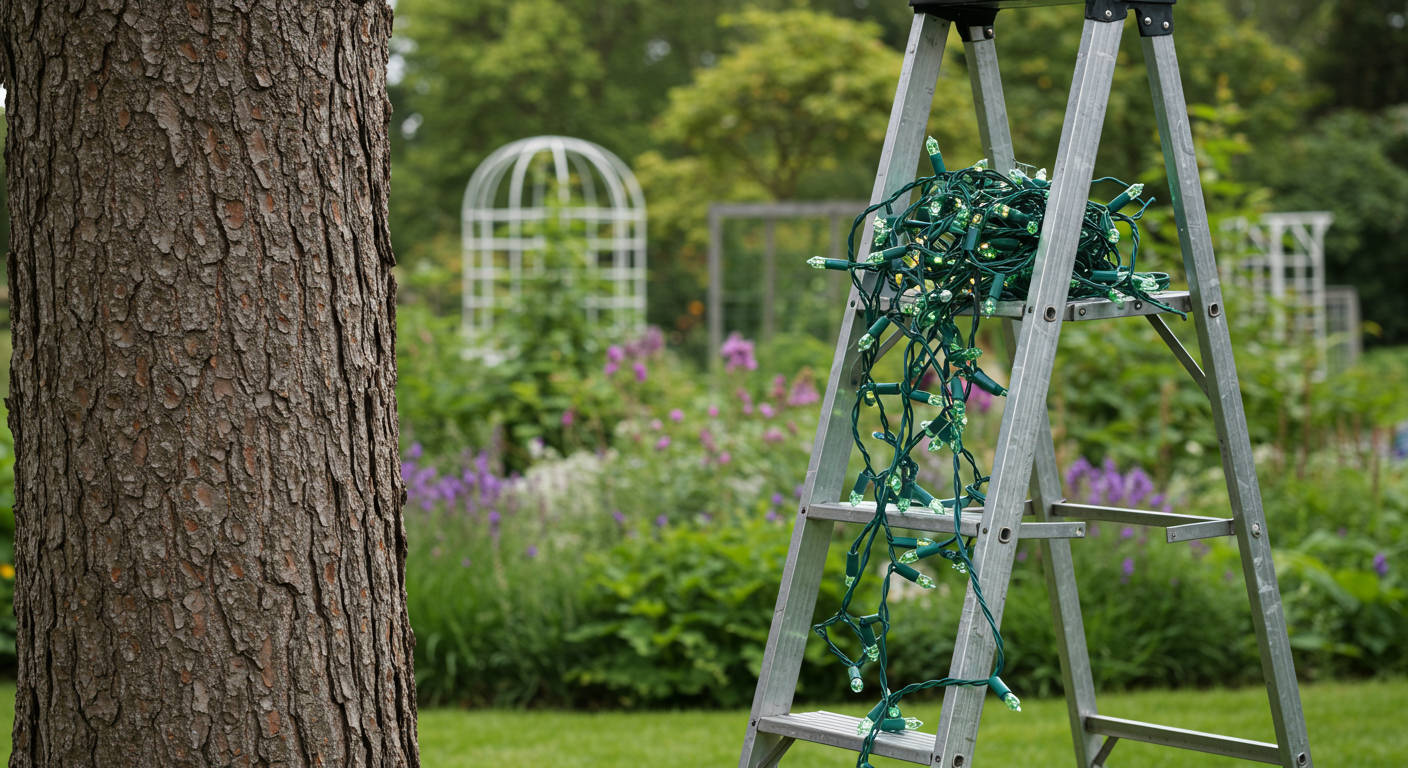
Verify the functionality of each light strand by plugging it in and ensuring that all the lights are operational. This step is crucial before hanging the lights, particularly if you won't be turning them on during the installation process. Checking the lights beforehand prevents the inconvenience of discovering a malfunctioning strand after all the lights have been hung, especially if it's located in the middle.
If you wish to extend the length of the lights, connect multiple tested light strings by plugging them together end-to-end. Once connected, wind the resulting extended string around a flat piece of cardboard. This method facilitates the handling of a longer string without the hassle of dealing with a tangled mess.
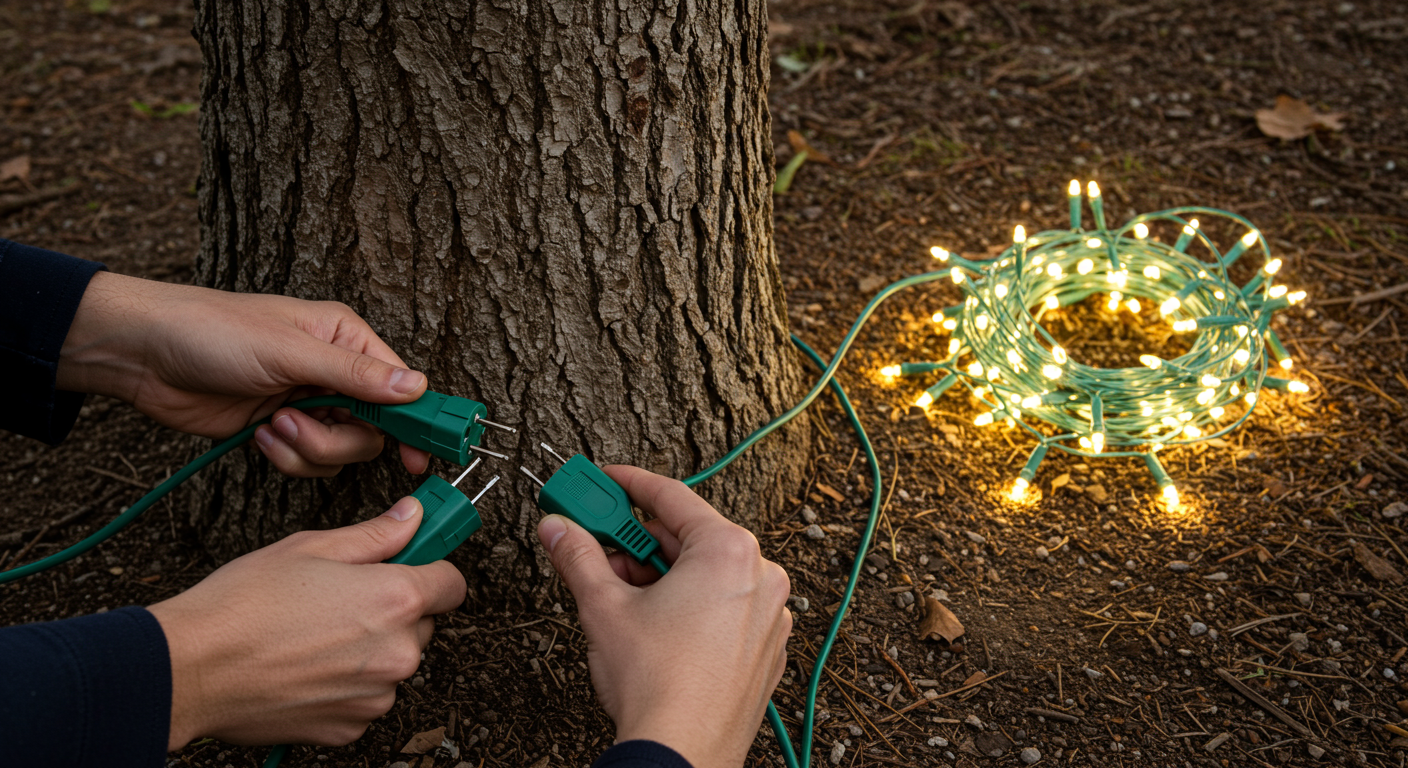
Utilize an outdoor-rated extension cord, extending it to the tree's base. Because this cord will be exposed to outdoor conditions, including the possibility of getting wet, it is essential to have GFCI (ground-fault circuit-interrupter) protection to mitigate the risk of electric shock. To ensure this safeguard, either plug the cord into a GFCI outlet or use an outdoor cord equipped with GFCI protection.
Identify the visible base of the tree, which is the point where the tree becomes noticeable from the street or house. Note that tall grasses, rocks, or other landscaping elements might obscure the bottom of the trunk. From the curb or street, determine where the trunk becomes visible and position the cord end accordingly. Optionally, secure the cord by wrapping it around the base of the tree.
Connect the initial strand of lights to the extension cord. You have the option to plug the cord into the outlet immediately or wait until you have completed the setup.
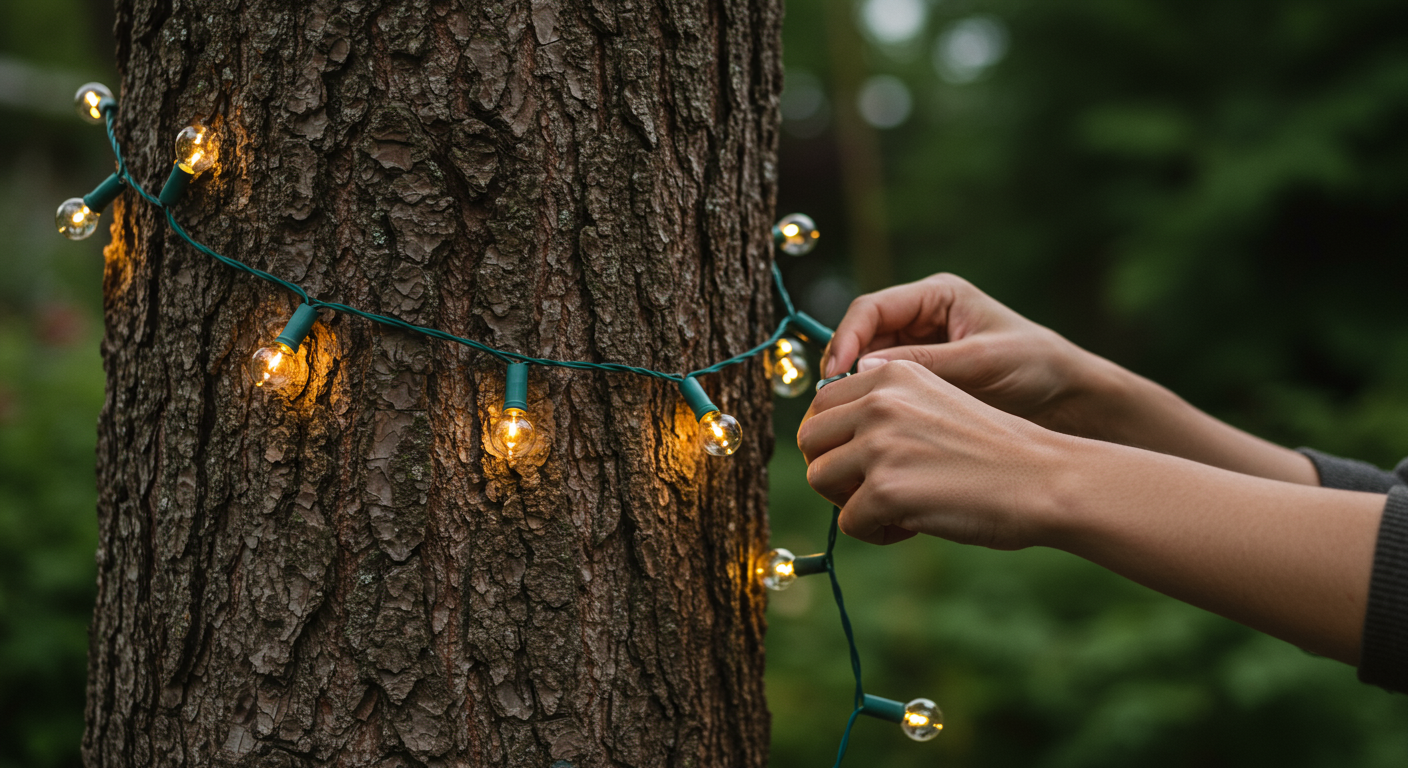
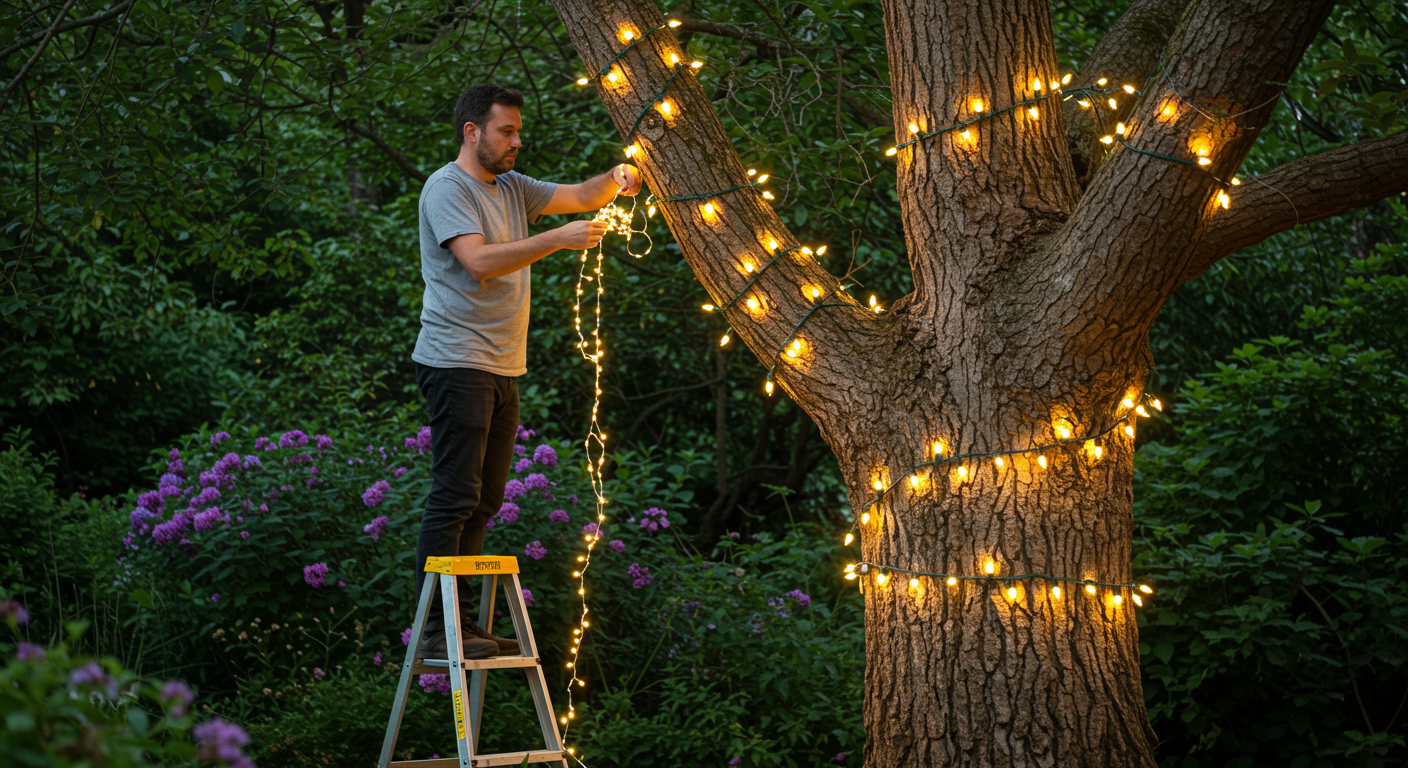
Commence the process of winding the lights around the tree trunk, progressing upward with each loop. For consistent spacing, assess the distance between windings using your hand. Maintain approximately four fingers of space between each revolution around the tree trunk. Strive for uniform spacing to achieve an aesthetically pleasing final result.
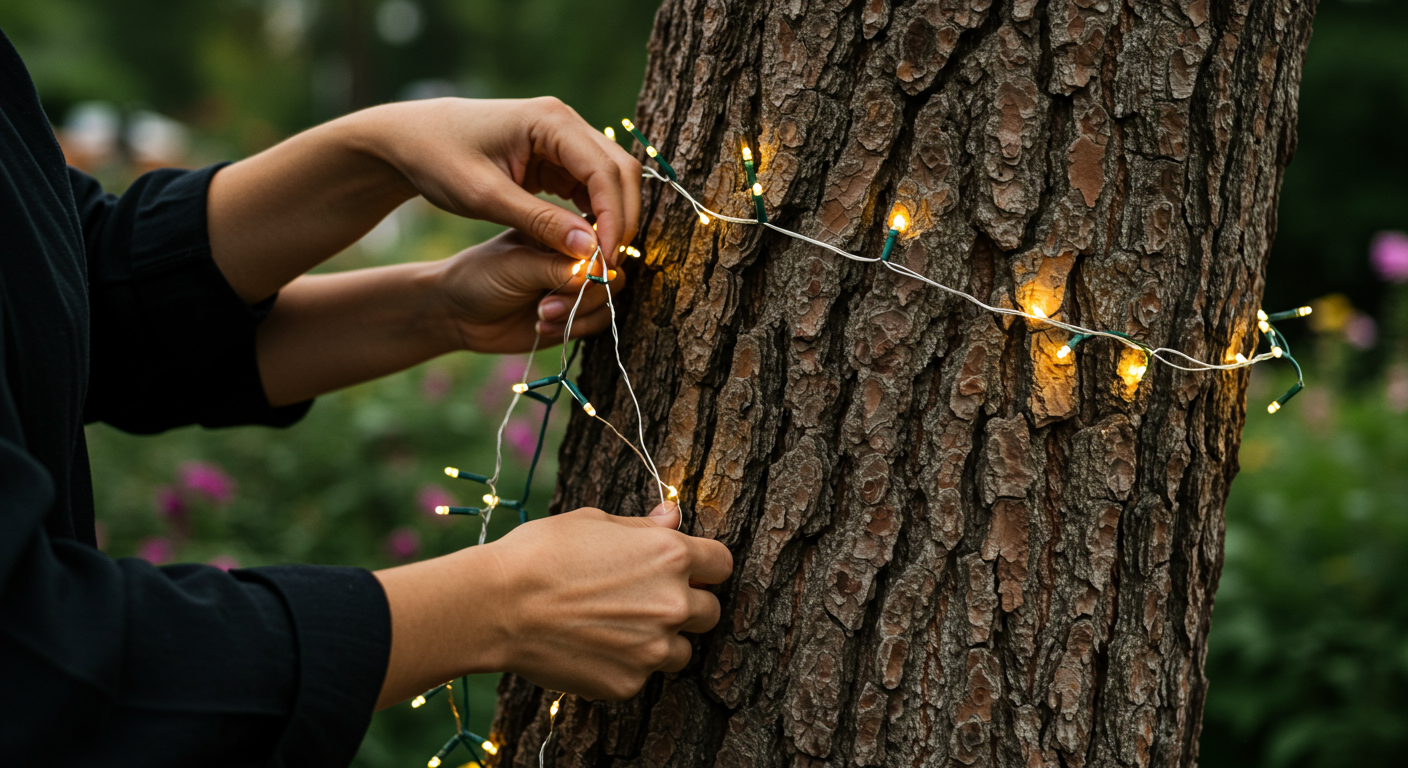
Wind the lights around each limb or substantial branch, ensuring you leave several additional feet of string. Space the revolutions approximately two hands (eight fingers) apart. Upon reaching the end of the limb, change direction and coil the string back down, weaving between the upward loops to achieve a spacing equivalent to one hand width.
Employ a ladder to access elevated areas. Avoid climbing a tree to hang lights. For moderately low heights, a freestanding stepladder suffices, but for greater elevations, opt for an extension ladder. Adhere to conventional ladder safety measures, ensuring the ladder is evenly supported at both the top and bottom and inclined at approximately 75 degrees (15 degrees from the vertical). If ascending beyond approximately 6 feet, enlist the assistance of a helper to stabilize the ladder's base and provide guidance from the ground while you're on the ladder.
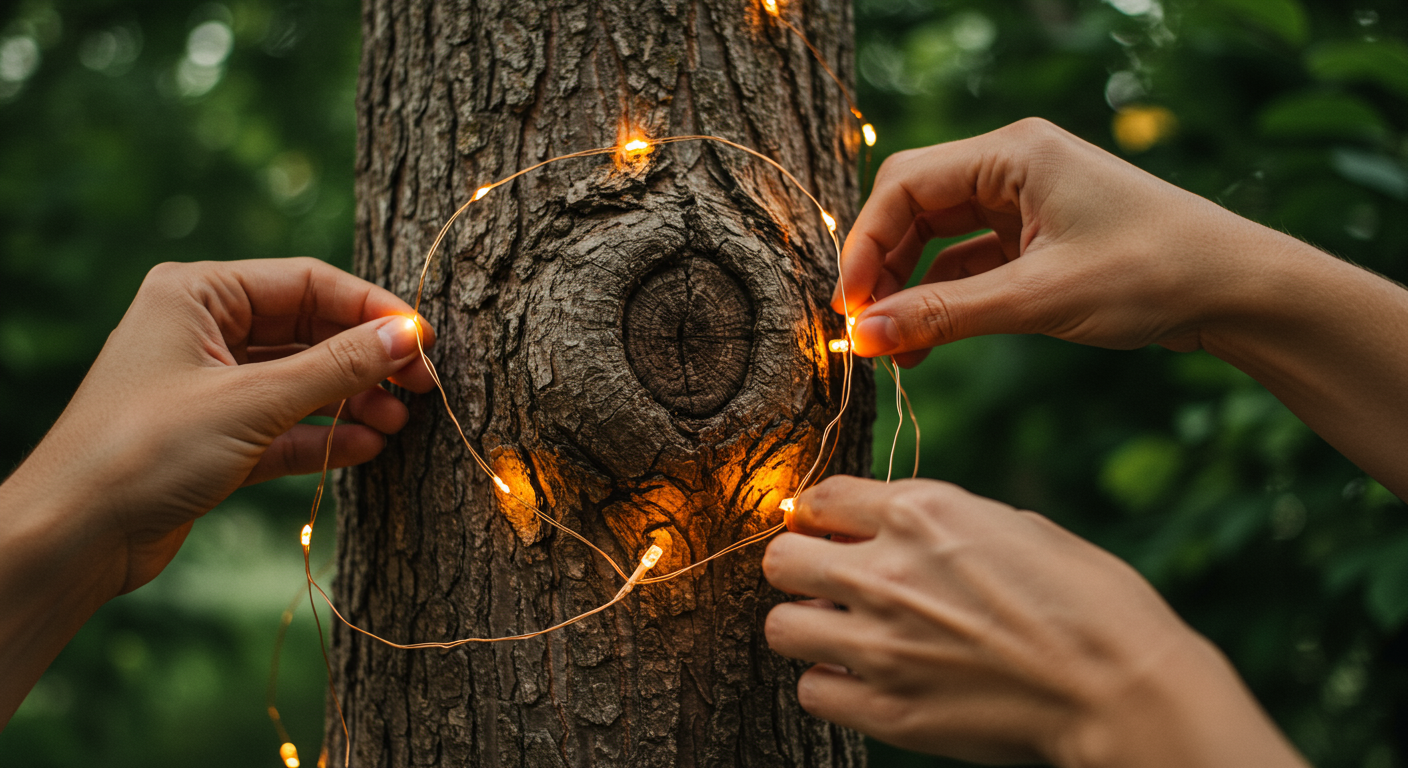
Finalize the installation by securing the end of the light string as necessary. One method is to securely tuck the end into a junction of branches to prevent it from becoming loose. Alternatively, you can fasten the string to the tree using natural twine or planting tape. Avoid using metal wire, as it poses a potential shock or fire hazard if it cuts through the insulation of the light's wire. Plastic zip ties are also an option, but it's crucial to remember to cut them off before they become too tight. A robust zip tie left uncut could encircle the tree, potentially causing damage if not removed.
When deciding the number of lights or strands of lights to use, disregard the conventional wisdom of "A little goes a long way" as it doesn't hold true in this scenario. Considering the trunk's circumference, each wrap may readily consume 20 or 30 lights. A tree adorned only partially up its trunk lacks a festive and finished appearance. Plan and allocate your lighting budget accordingly. You have the option to begin modestly and incrementally add more lights each year.

MarkAnthony is committed to providing unmatched customer service and satisfaction to all his clients, regardless of whether they are first-time buyers, sellers, or experienced investors. He is here to make your real estate transaction as smooth and stress-free as possible. Luxury isn't a price point, but a carefully curated experience.